
Managing Attendees
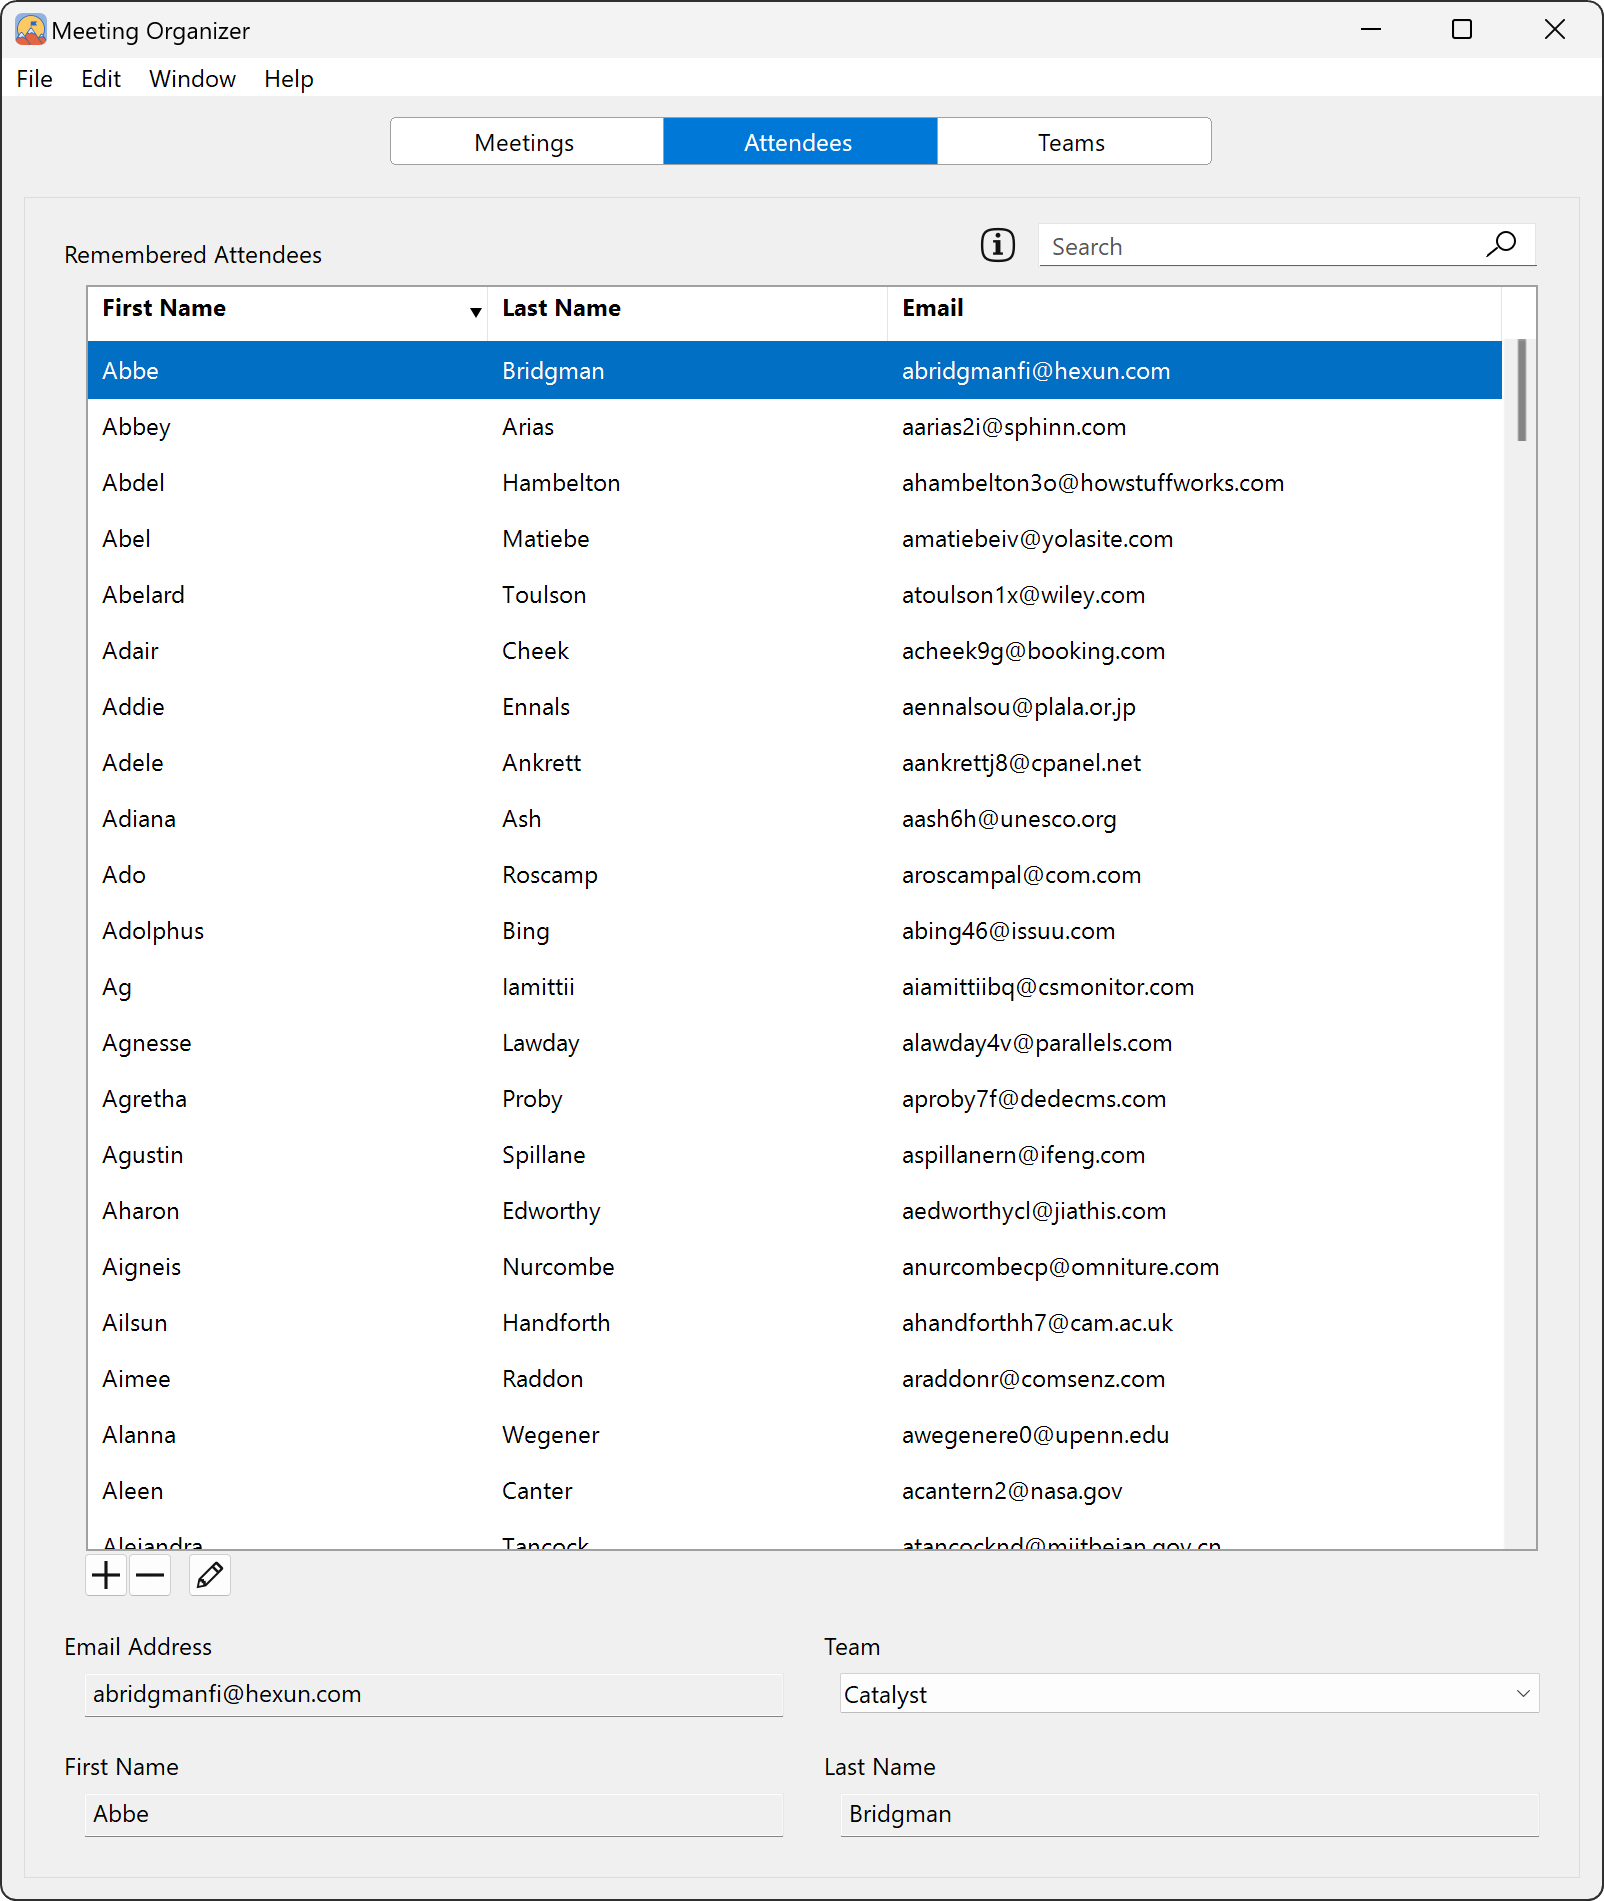
The best way to manage your Remembered Attendees is from the Meeting Organizer via the Attendees tab. At the top right is a search field to search for one or more people based upon their first name, last name or email address.
Beneath the search field is a section that lists all of your Remembered Attendees and you can easily add attendees one-by-one or in bulk in the following ways...
+ (Plus) Button: Press this button to add a new individual remembered attendee. The email address, first name and last name fields will be enabled so that you can enter attendee information. Optionally, you can also add the person to a team. Once all the fields are filled out, press the Save or Cancel button to complete this task.
Paste Attendees from Email/Calendar: One of the quickest and easiest ways to add attendees is to paste them in from an email message or a calendar event...
Simply highlight and copy one or more recipients from your favorite email or calendar app.
Next return back to Summit and click the Remembered Attendees table to select it.
Finally, press Ctrl+V for Windows or CMD+V on macOS to paste in the recipients into your Remembered Attendees.
Summit will present a dialog detailing how many people have been added.
Note: Summit will use the recipient email address to determine if the person is already in your Remembered Attendees or not. As such, the same email address cannot be added twice although, you can have someone with the same name, but different email addresses.
Drag-and-Drop .CSV File: The third option for adding people to your Remembered Attendees is by dragging and dropping a .csv file onto the Remembered Attendees table. After doing so you will receive a dialog detailing how many people have been added. The format of the .csv file is as follows and every line of text is a new person. The filename should end with a .csv extension.
firstName,lastName,emailAddress
To get you started, download a CSV-Example.zip file that you can modify rather than starting from scratch. Within this archive you'll find one file for Windows and another for macOS. They're the same file but the line endings are adjusted for each respective OS. Don't worry if you don't understand what this means, just open the file for the operating system you're running on and edit the file, replacing the text with your own. On Windows you'll want to use Notepad or other text editor. On macOS you'll want to use TextEdit or other text editor.
Next, let's talk about modifying attendees. Just like in the Meetings tab, there's a - (minus) button to delete the currently selected attendee. And similarly, you can select several attendees and remove them in bulk.
Note: You will not be able to remove yourself as a Remembered Attendee.
And the final action you take on this tab is to modify a remembered attendee by pressing the Edit Attendee (pencil) button. Once you've made your changes, press the Save or Cancel button to complete this task.
And here towards the end of this tab, let's talk about teams. The team popup menu is always enabled so that you can quickly and easily modify the team assignment for a particular attendee. And if you select multiple attendees, you can add or change their team assignments for everyone in a single action.
PRO Only: If you're using the PRO version of Summit, whether fully registered or within the 30-day trial, you can take advantage of all that the team feature offers. Why not have Summit PRO match your workplace environment where you often assign action items or make presentations as a team rather than an individual.
Subscribe to Newsletter
Sign up to our newsletter to receive the latest news and updates to your inbox.
SubscribeSummit
© 2023-2024 Ministry of Bits, LLC. All rights reserved.